
Summary
Setting up a dedicated server for H2M Modern Warfare 2 Remastered is crucial for an enhanced gaming experience. This guide provides essential steps to ensure optimal performance and security. Key Points:
- Choose the right server hardware by considering RAM, CPU, and storage to balance cost and performance for your player count and map complexity.
- Optimize your network configuration with advanced techniques like dedicated IP addresses, bandwidth management, and QoS to prioritize game traffic while using tools like iperf for performance testing.
- Master mod installation and customization by updating server files, configuring player slots, and implementing custom maps or weapons while addressing stability issues.

Just hours after Activision issued its 'Cease & Desist' order, the gaming community managed to access the files for the H2M mod. Although this mod has not yet been officially released, players have already discovered ways to create online games using it. Clearly, Activision underestimated our capabilities. In this article, I will provide a comprehensive step-by-step guide on how to set up your own dedicated server so you can enjoy custom matches with friends.

If you have already set up H2M, feel free to skip this section. To use this mod, you'll need to acquire a copy of Modern Warfare Remastered (2016). Simply visit the Steam page to purchase and download the official version. There are various sources available for downloading the H2M mod, though their safety can vary significantly. I recommend checking out this GitHub page for torrent files, as it is currently one of the more secure options for obtaining this mod. Once you've downloaded both MWR and the mod, transfer all files from the H2M directory into the MWR directory (you can find this folder location in the manage section on Steam).

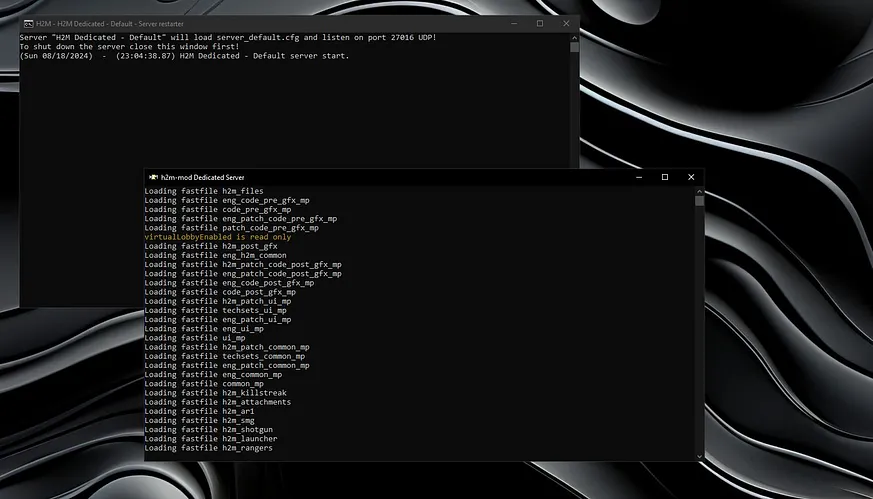
Now that you’ve completed the mod setup, you can launch the game using 'h2m-mod.exe'. For this demonstration, I’m utilizing an older Dell OptiPlex as my server host. If you intend to expand this server to accommodate a larger user base, I strongly suggest using a dedicated PC or establishing a home lab. You’ll need to access my GitHub link in order to download the essential files for the subsequent steps. Please download the "Server Setup Files" folder and transfer 'server_default.bat' and 'server_default.cfg' into your MWR directory.

To incorporate bots into your server, simply relocate the 'user_scripts' folder found within the H2M directory of your MWR installation. Additionally, you can modify your server and match configurations by accessing the 'server_default.cfg' file. Be sure to scroll down until you locate the line that states 'set rcon_password'.

In this instance, I've designated my server with the name 'Test Server' and established the password as 'adminpassword'. It's important to keep this password in mind, as you'll require it for configuring IW4M Admin.

As you scroll down, you'll notice options to modify maps, game modes, and various match settings. For the purpose of this guide, we'll leave this section unchanged. Once you've saved the file, execute the 'server_default.bat' file. This action will launch a command prompt and reset any currently active servers. Following this step, H2M should initiate automatically. Allow H2M to configure your new server setup.
To begin, launch CMD or PowerShell with Administrator privileges to configure your server for a local port. For this demonstration, we will select port 27016. Execute the following script:
netsh advfirewall firewall add rule name="H2M Mod allow" dir=in action=allow protocol=UDP localport=27016
Setting up your server is largely complete. While you can jump in at this point, I strongly suggest implementing IW4M Admin to effectively monitor and safeguard your server. Additionally, their WebFronts offer a wide range of exciting features to explore!

IW4M has been a staple in the gaming community for several years, offering support for various Call of Duty titles. It also features an H2M parser, which is invaluable for managing your game servers. While you can utilize the IW4M version referenced in this tutorial, it's advisable to visit the IW4MAdmin GitHub Page for the latest updates and to download the zip package. Once you've extracted the files, simply launch 'StartIWM4Admin.bat'. The settings I opted for are listed here; however, your selections may vary depending on the specific type of server you wish to establish.

Enable webfront? [y/n]: n Enable multiple owners? [y/n]: n Display social media link on webfront (discord, website, VK, etc..)? [y/n]: n Enable server-side anti-cheat (IW4 only)? [y/n]: n Enable profanity deterring? [y/n]: n Please enter a selection [default 0]: 6 Would you like IW4MAdmin to try to automatically determine your server IP? [y/n]: n Enter server IP Address/Hostname: local Enter server port [default 27016]: 27016 Enter server RCon password: adminpassword Configuration saved, add another? [y/n]: nIf you have followed all the necessary steps correctly, you should see this notification once IW4M successfully connects to your server.


 ALL
ALL
Discussions